
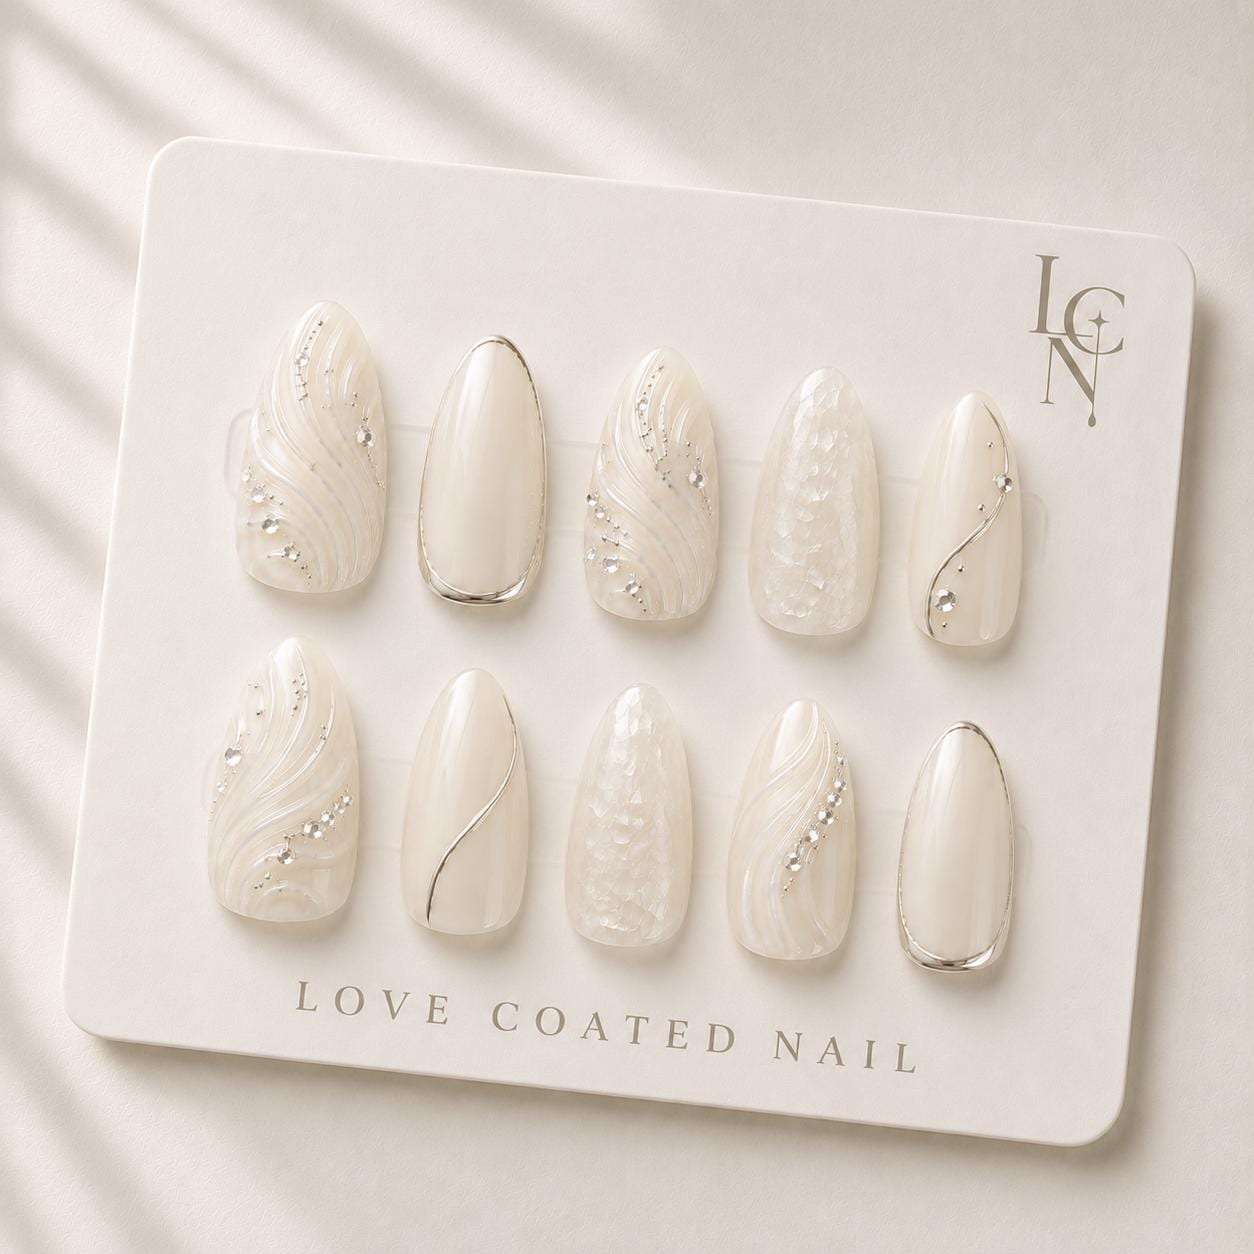
If you’re traveling to the venue the day before your wedding, the safest timeline is to apply the 3D gel wave bridal press‑ons the evening before you leave, give them at least six hours to cure and bond, then re‑press them lightly after you arrive to ensure a perfect fit. Doing so lets the gel textures fully set, reduces the chance of lifting during travel, and still leaves you with fresh‑looking nails for the ceremony.
Start by preparing your natural nails the night before you plan to travel. Trim, file, and push back cuticles, then lightly buff the surface to remove any shine. Cleanse with an alcohol wipe and let the nails dry completely. This clean canvas helps the adhesive tabs or glue adhere securely, which is especially important for the intricate 3D gel waves that can catch on clothing or luggage if they shift.
Once your nails are prepped, select the Love Coated Nail bridal set that matches your ivory shimmer and silver chrome accents. Position each press‑on gently, pressing firmly for about ten seconds to activate the adhesive. Because the set includes both adhesive tabs and glue, you can start with the tabs for an initial hold and then reinforce the most demanding nails—typically the ring finger and middle finger—with a thin line of nail glue. This hybrid approach balances ease of removal later with extra security for the textured surfaces.
After all ten nails are in place, give them a minimum of six hours to cure. If you have a later flight, consider applying them early in the evening so you can sleep with the nails on; the overnight rest provides ample time for the gel texture to settle. Keep the set in a cool, dry place and avoid any moisture, as humidity can interfere with the adhesive bond.
When you board your flight or begin your road trip, protect the nails by wearing a soft cotton glove or a light fabric sleeve over your hands. This barrier prevents the nails from catching on seat belts, luggage handles, or clothing zippers. If you’re flying, store the gloves in your carry‑on rather than checked luggage to keep them within reach for a quick inspection before you land.
Upon arrival at the venue, give the nails a brief “reset” before you start getting ready. Gently press each nail again for a few seconds, especially the ones with the most pronounced 3D gel waves, to re‑activate the adhesive after any movement during travel. This step is quick—usually under a minute—but it reinforces the bond and smooths out any minor lifting that may have occurred.
Throughout the wedding day, keep a small emergency kit in your purse: a spare adhesive tab, a tiny tube of nail glue, and an alcohol wipe. If a nail lifts slightly during dancing or photo sessions, a quick press with a fresh tab and a dab of glue will keep it secure without drawing attention. The lightweight nature of the Love Coated Nail set means the nails stay comfortable even during long hours of wear.
When the celebration ends, removal is straightforward. Soak a cotton ball with an alcohol wipe, place it over each nail, and let it sit for a minute to loosen the adhesive. Gently lift the nail from the cuticle edge; the 3D gel texture should release without pulling on your natural nail. Store the reusable set in its original pouch for future events, such as a honeymoon brunch or a later anniversary celebration.