
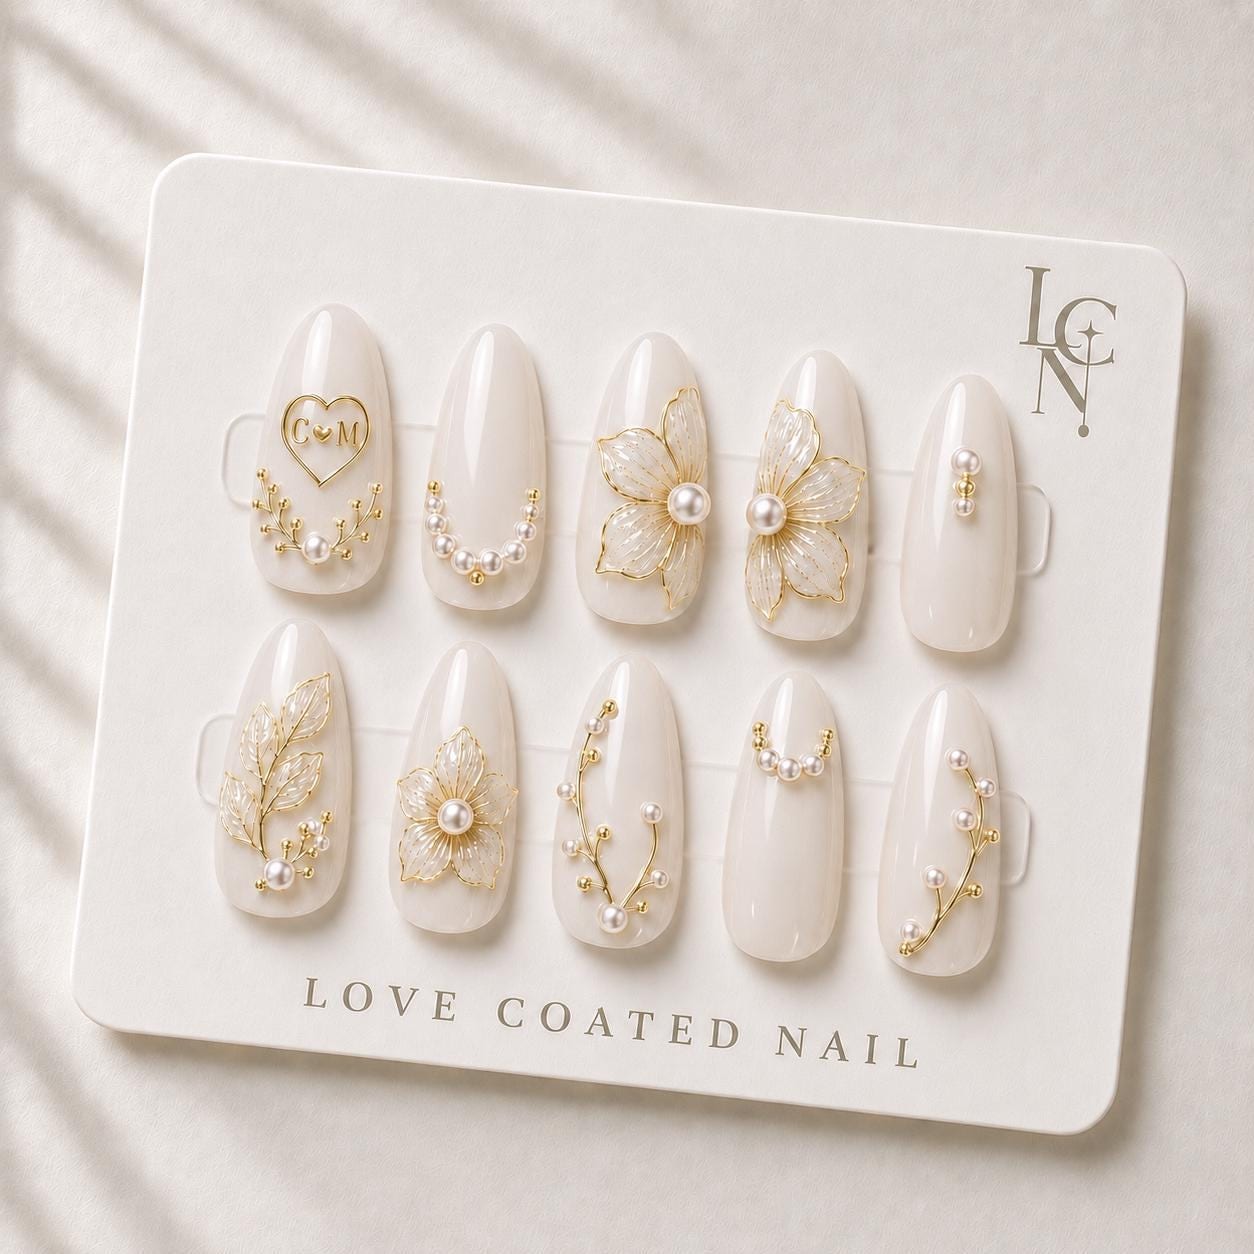
Yes, you can reuse your luxury ivory pearl press‑on nails for the honeymoon photoshoot, but you’ll need to handle them with care to keep the 3D floral and pearl details shining. The key is gentle removal after the ceremony, proper cleaning, and safe storage until you’re ready to apply them again for the shoot.
Gentle Removal After the Ceremony
After the ceremony, give your nails a few minutes to breathe before you start removing them. Use the alcohol prep pads included in the Love Coated Nail kit to wipe away any residual adhesive. Gently lift the edge of each nail with a cuticle stick, working slowly to avoid pulling off the delicate pearl embellishments or the sculptural flower petals. If you used adhesive tabs, a warm soak in lukewarm water for 30 seconds can soften the bond, making the lift smoother. Avoid harsh pulling or using metal tools, as those can chip the 3D details.
Cleaning the Surface Without Dulling the Shine
Once the nails are off, inspect each piece for any leftover adhesive or skin residue. Lightly dab the surface with a fresh alcohol pad to dissolve any remaining tack. For stubborn spots, a soft cotton swab dipped in a tiny amount of nail glue remover can work, but be sure to wipe it away immediately with another alcohol pad. Do not scrub; the pearl beads and gold botanical accents can be scratched by abrasive motion. After cleaning, let the nails air‑dry completely before moving to storage.
Storing the Nails to Preserve Sparkle
Proper storage is essential for maintaining the luminous finish of the ivory pearl set. Place each nail in a separate compartment of a small, rigid container—like a jewelry box or a dedicated nail storage case. If you have the original packaging, that works well because the individual slots keep the nails from rubbing against each other. Add a piece of soft tissue paper between each nail to cushion the 3D floral elements. Keep the container in a cool, dry place away from direct sunlight, as prolonged exposure can fade the pearl sheen over time.
Preparing for the Honeymoon Photoshoot Application
When you’re ready to reapply the nails for the honeymoon shoot, start with clean, dry nails. Lightly buff the natural nail surface with the included file to remove any oils, then wipe with an alcohol pad. If you plan to use the adhesive tabs again, make sure they are still tacky; otherwise, replace them with fresh tabs from the kit. Apply the tabs to the press‑on nails, press firmly, and hold for a few seconds to ensure a secure bond. The lightweight gel tips should sit comfortably, allowing you to pose confidently without worrying about the details slipping.
Protecting the Details During the Shoot
During the photoshoot, consider a few protective habits. Avoid excessive rubbing of the fingertips against fabrics, especially satin or lace, which can catch on the delicate flower petals. If you’ll be handling water—say, a beach scene or a pool—apply a thin layer of clear top coat over the pearls and gold accents; this adds a barrier without altering the appearance. Finally, keep a small bottle of hand sanitizer handy for quick touch‑ups, but use it sparingly, as alcohol can weaken the adhesive if it seeps under the nail.