
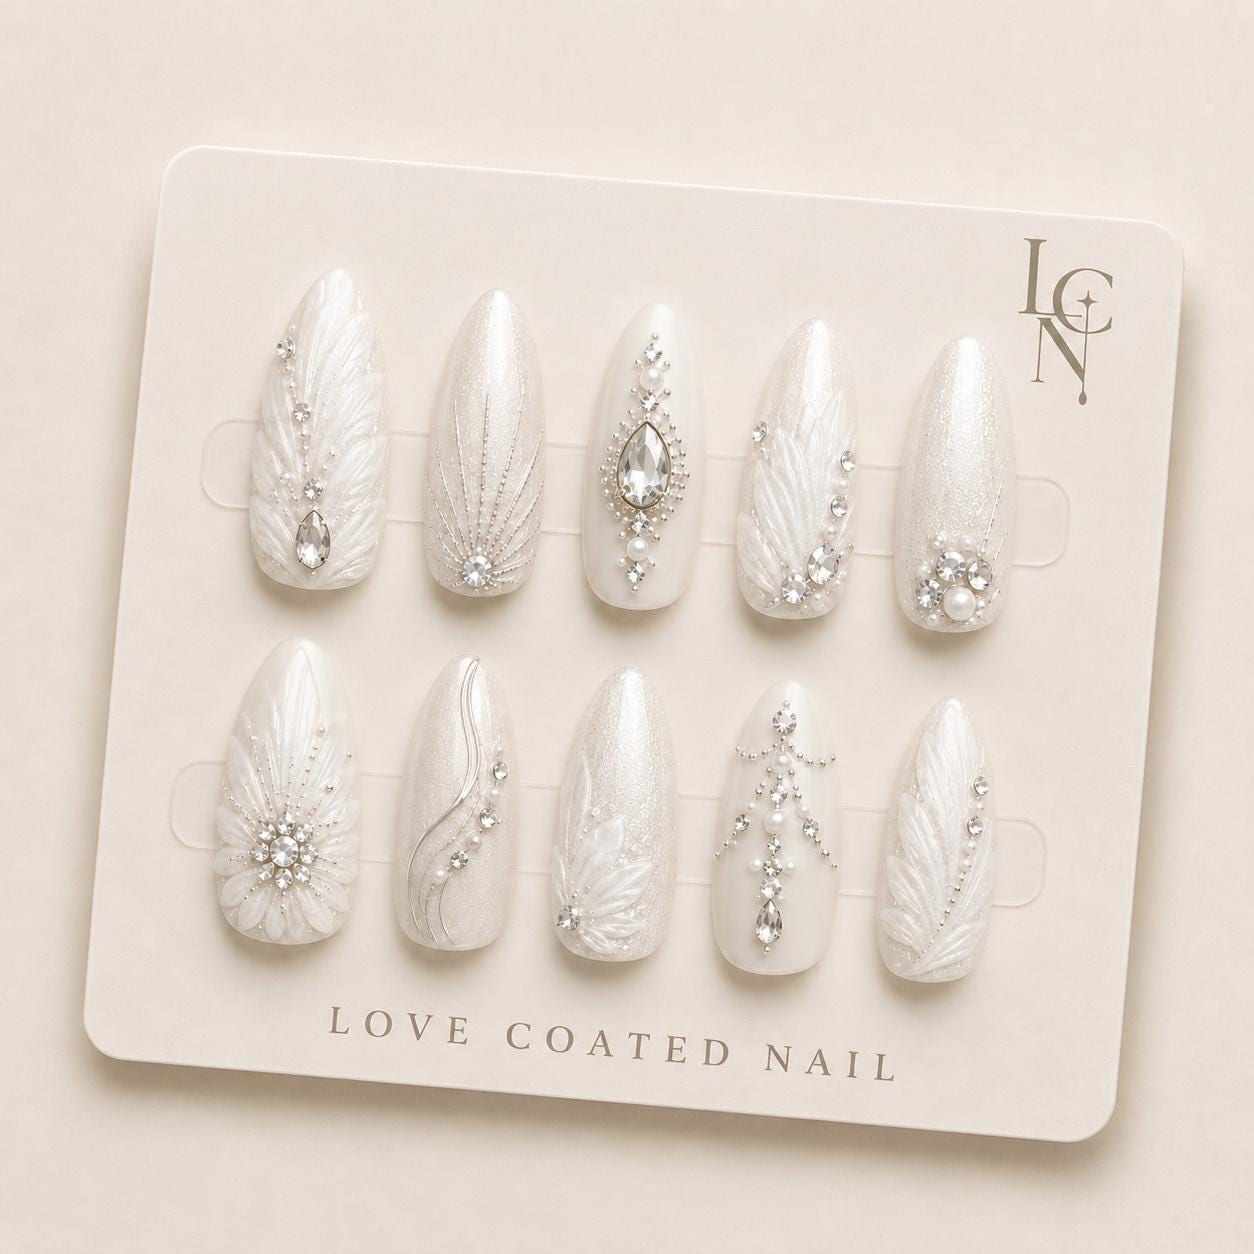
Yes, you can apply your wedding press‑on nails with adhesive tabs for the ceremony and then change the design for the reception. The tabs provide a secure hold for 1–2 days, which is enough time to enjoy the ceremony, photos, and early celebrations. When the reception begins, you simply remove the first set of nails and replace them with a new design, using fresh tabs or glue if you prefer longer wear.
Preparing Your Nails and the Press‑On Set
Start by cleaning your natural nails with an alcohol wipe to remove any oils. Trim and file your nails to a medium almond shape, matching the shape of the Love Coated Nail bridal set. Size the press‑ons by fitting each one over your natural nail; the set includes a nail file for minor adjustments. Once you have the correct fit, select the adhesive tabs included in the package. Each tab is pre‑cut for a single nail and provides a bond that lasts 1–2 days, which is ideal for the ceremony timeline.
Applying the First Set for the Ceremony
Lay an adhesive tab on the back of each press‑on nail, pressing firmly to activate the adhesive. Align the nail with your natural nail, starting at the cuticle and pressing down to the tip. Hold for a few seconds to ensure full contact. Repeat for all ten nails. The tabs are designed to stay in place through light dancing and photo sessions, but avoid excessive water exposure. Let the nails sit for a minute before moving on with your bridal preparations.
Removing the Ceremony Nails Safely
When the reception begins, give your hands a moment to rest. To remove the tabs, soak a cotton pad with an alcohol wipe and place it on each nail for about 10 seconds. The adhesive will soften, allowing you to lift the press‑on gently from the side. Work slowly to avoid damaging your natural nail surface. After removal, clean any residue with a fresh alcohol wipe and let your nails dry completely before proceeding to the next step.
Swapping to a New Design for the Reception
If you plan to keep the same set but change the look, you can add decorative elements such as a thin strip of crystal or a pearl accent to the existing nails. For a completely new design, you may use a second set of Love Coated Nail press‑ons that feature a different color or embellishment. Apply fresh adhesive tabs or, if you anticipate a longer reception, use nail glue for a hold of up to 3–4 weeks. Follow the same application steps as before, ensuring each nail is securely attached before you hit the dance floor.
Practical Tips for a Smooth Transition
Timing is key. Apply the ceremony nails the night before or early on the wedding day, giving the tabs time to set. Schedule the removal about 30 minutes before the reception starts, allowing enough time for cleaning and re‑application. Keep a small kit in your bridal purse: the remaining adhesive tabs, an alcohol wipe, a nail file, and a cuticle stick. If you have sensitive skin, test a single tab on a fingertip before the ceremony to ensure no irritation. Finally, practice the removal and re‑application process at least once before the big day to build confidence.