
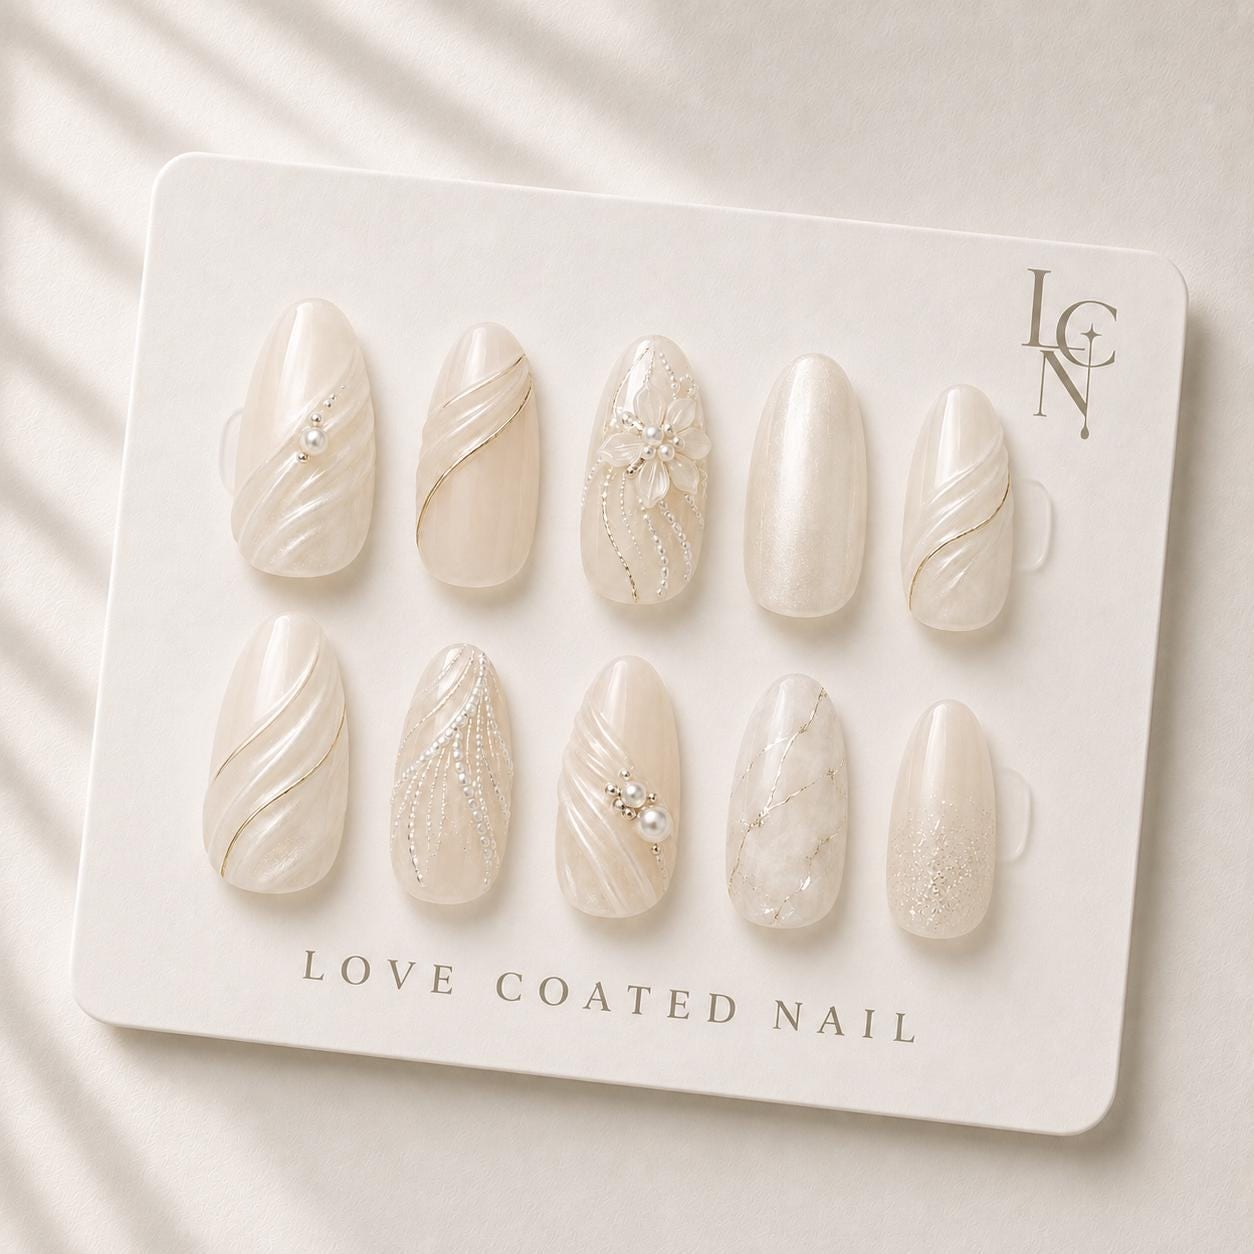
For a full set of 10 medium almond bridal press‑ons for a full‑day wedding, you should plan on using all 24 adhesive tabs that come with the set, applying two per nail and keeping a few spares for unexpected lift‑offs.
Calculating the Tab Count
Each nail in the Love Coated Nail bridal set is designed to be secured with a single adhesive tab, but the reality of a long ceremony, reception dancing, and photo sessions means extra hold is wise. By allocating two tabs per nail you double the surface area that bonds the press‑on to your natural nail, which dramatically reduces the chance of a single tab failing under movement. Ten nails multiplied by two tabs equals twenty tabs, leaving four additional tabs as a safety net. Those four can be used for any nail that feels slightly loose after the initial application or saved in case a tab loses its tack during the evening.
Preparing Your Nails and Workspace
A clean, dry nail surface is the foundation of any successful tab application. Begin by gently pushing back cuticles and lightly buffing the natural nail to remove shine. Wipe the nail with an alcohol pad from the product kit to eliminate oils. While the adhesive tabs are pre‑cut, keep them in a dry place until you are ready to use them; humidity can affect their stickiness. Having a small tray for the tabs, a file, and a cuticle stick nearby creates a smooth workflow and prevents you from fumbling with the tabs when you are already on a time‑tight wedding morning.
Applying the Tabs for All‑Day Hold
Take one tab and press it firmly onto the press‑on nail, aligning it with the center of the curve. Press for about five seconds to ensure full contact. Once the tab is attached to the press‑on, position the nail on your natural finger and press down for another five to ten seconds, focusing on the tip and the sidewalls. Repeat the process with the second tab on the same nail, placing it slightly offset so the two tabs together cover the entire surface. This dual‑tab method creates a redundant bond; if one tab begins to lift, the other continues to hold the nail in place.
Managing Extras and Backup Tabs
Even with careful application, a wedding can be unpredictable. A sudden rain shower, a tear‑filled speech, or an enthusiastic first dance can stress the adhesive. Keep the four spare tabs within reach, perhaps tucked into the bridal clutch or a small zip‑lock bag. If you notice a nail starting to wiggle, replace the failing tab with a fresh one, pressing firmly as described earlier. Because the set includes 24 tabs, you have enough to replace any that lose adhesion without compromising the overall look of the bridal manicure.
After‑Event Removal and Care
When the celebration ends, remove the press‑on nails gently to protect your natural nails. Soak a cotton pad with an alcohol wipe from the kit, place it over a nail, and let it sit for a few seconds to soften the adhesive. Slide the press‑on off starting from the cuticle edge, using a cuticle stick if needed. Store any unused tabs in a cool, dry place for future touch‑ups or for a rehearsal dinner the next day. Proper removal and storage extend the life of the tabs and keep them ready for any future bridal events.