
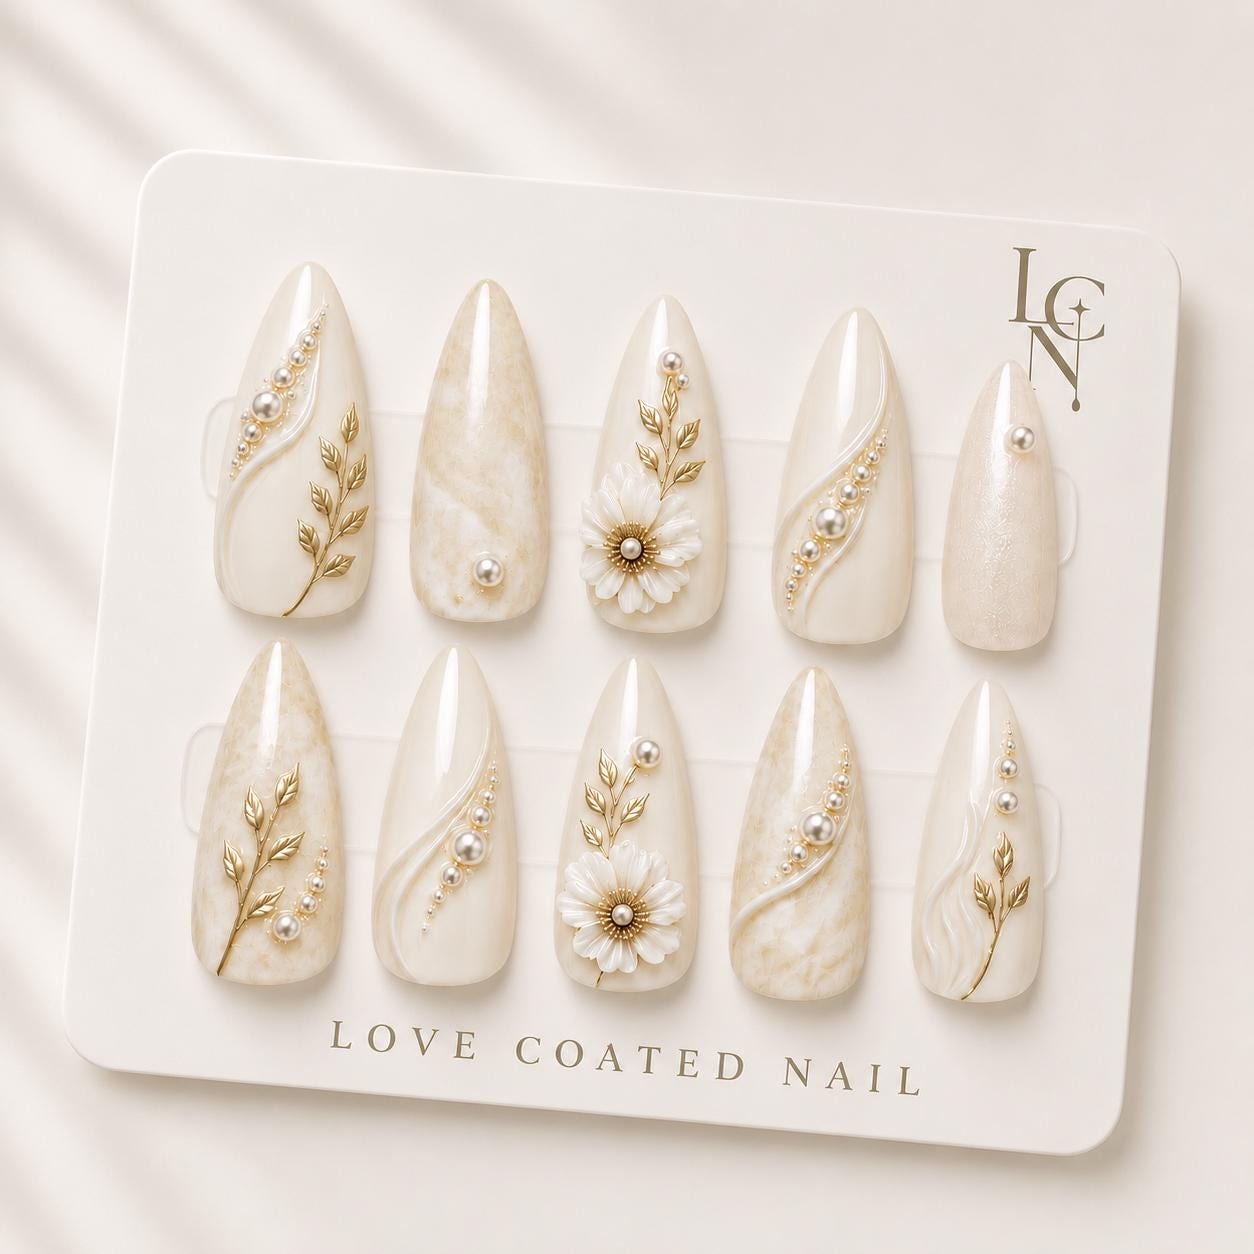
Yes, you can mix your own custom nail art with the pearl accents from the luxury bridal set for the rehearsal dinner, and the result can feel both personal and refined. The key is to treat the existing pearls and gold botanical details as a foundation rather than an obstacle, then add elements that echo their elegance without overwhelming the design.
Choosing a Base Design
Start by deciding which nails will stay untouched and which will become canvases for your own art. Because the set already includes pearl clusters on several fingers, many brides find it simplest to keep those pieces as‑is and focus custom work on the remaining nails. For a rehearsal dinner, a balanced approach works well: leave the ring finger and middle finger with the original pearl‑filled design, then use the index, pinky, and thumb for subtle additions. This distribution maintains visual harmony while giving you space to express your style.
Adding Subtle Art Elements
When you introduce custom art, think of texture and scale. Thin metallic striping tape in rose gold or soft ivory can trace the natural almond shape without hiding the existing draping. A single tiny crystal or a miniature floral stamp placed near the base of a nail mirrors the 3D gel flowers already present. If you enjoy watercolor effects, a light wash of blush or muted mauve applied with a fine brush can blend into the ivory background, creating depth that complements the pearl sheen. Keep each added element narrow—no larger than a quarter of the nail surface—to let the original accents remain the focal point.
Preserving Cohesion with Color and Texture
The bridal set’s palette centers on soft ivory, pearl luminescence, and delicate gold. Any custom pigment should sit within that family. A muted champagne shimmer, a whisper of pearl‑infused pink, or a faint gold glitter can be layered over the gel base without clashing. If you prefer a pop of color, choose a shade that appears in the bride’s bouquet or dress lining, such as a dusty sage or pale lavender, and apply it only as an accent line or a tiny dot. This strategy ties the nail art to the overall wedding aesthetic while keeping the look cohesive.
Practical Steps for Application and Removal
Love Coated Nail’s set includes adhesive tabs and a nail file, which are ideal for a rehearsal dinner when you may need a quick change. Apply the original press‑ons first, pressing firmly for a full second per nail. For the custom pieces, use a thin layer of nail glue on the back of the press‑on, then place your pre‑designed art onto the nail surface before the glue sets. A light press with the file’s side can smooth any edges. To protect the 3D floral details, avoid excessive rubbing and let the glue cure for at least two minutes before moving your hands.
When the evening ends, soak a cotton pad with an alcohol wipe and gently press it onto each nail for 30 seconds. This loosens the adhesive without damaging the delicate pearl clusters. Peel the press‑ons off slowly, starting at the cuticle edge, and store the set in its original pouch for future use.