
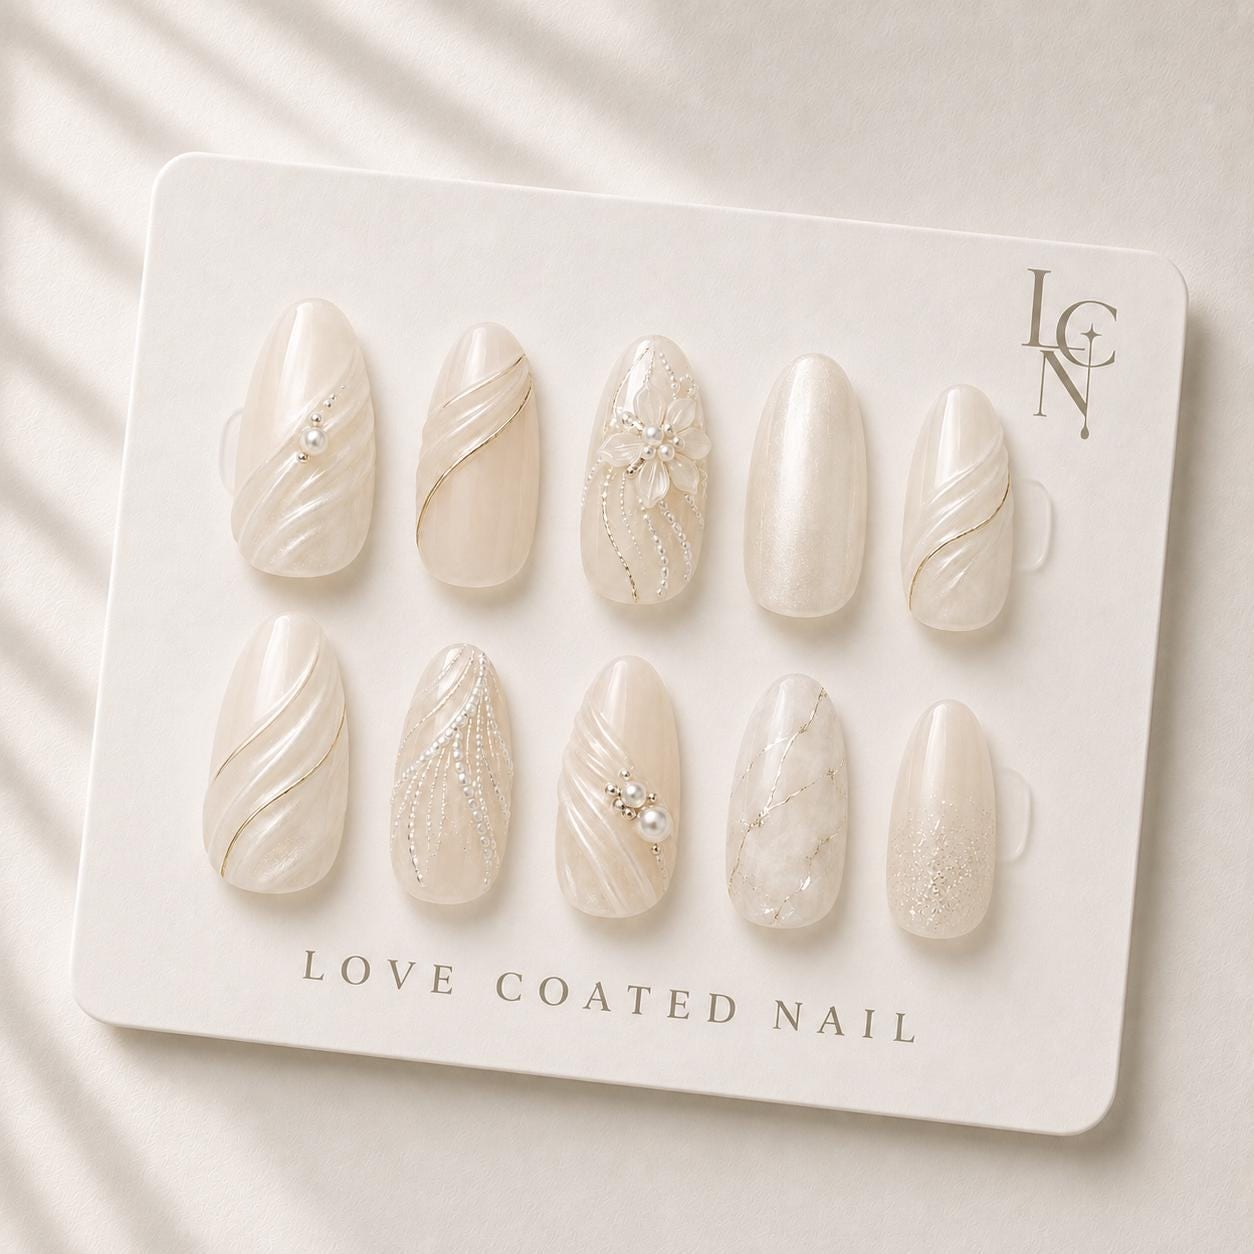
Can you mix your own nail art with the pearl accents from a luxury bridal press‑on set for the rehearsal dinner? Yes, you can, and you can do it without compromising the integrity of the pearls or the adhesive. By treating the press‑ons as a base canvas, selecting compatible art supplies, and following a careful application routine, you can create a personalized second‑day look that still feels elegant and secure.
Preparing the Press‑On Set
Start by inspecting the bridal press‑on set you received from Love Coated Nail. The set includes ten handmade ivory nails with luminous pearl finishes, 3D gel draping, and champagne chrome details. Gently clean each nail with the provided alcohol wipe to remove any surface oils that may have accumulated during packaging. Allow the nails to air dry for a minute. This step ensures that any additional art you apply adheres directly to the nail surface rather than to residue.
If the set comes with adhesive tabs, you will use them later; for now, keep the nails separate from your natural fingertips. The goal is to treat the press‑ons as a removable canvas that you can customize before the final attachment.
Choosing Compatible Art Materials
Not all nail art mediums work well on pre‑finished press‑ons. Because the base already has a gel‑based pearl coating, the safest options are water‑based nail paints, fine‑tip gel pens designed for top‑coat use, or thin layers of nail polish that cure under a UV lamp. Avoid thick acrylic powders or heavy glitter glues, as they can lift the pearl clusters or create uneven edges.
Select colors that complement the soft ivory and pearl palette. Pastel tones, muted metallics, or subtle matte finishes tend to harmonize with the bridal aesthetic. If you want a pop of contrast, a single accent nail with a deep navy or burgundy works well without overwhelming the overall look.
Applying Your Design Safely
1. Lay the press‑ons on a clean, flat surface, preferably on a silicone mat to prevent slipping. 2. Using a fine brush or gel pen, draw your chosen design directly onto the nail surface. Keep strokes light and avoid covering the pearl accents unless you intend to replace them entirely. 3. If you are using regular nail polish, apply a thin first coat, let it set for 30 seconds, then add a second thin coat. This prevents the polish from pooling and lifting the existing finish. 4. Once you are satisfied with the artwork, cure any gel‑based material under a UV or LED lamp for the manufacturer‑recommended time (usually 30‑60 seconds). For water‑based paints, allow the nails to air dry completely, which may take 5‑10 minutes. 5. After the art has fully set, seal the design with a clear top coat that is compatible with the original gel finish. This protective layer helps the custom art stay intact during the rehearsal dinner.
Caring for the Hybrid Nails Through the Evening
When the nails are ready, attach them to your natural nails using the adhesive tabs included in the Love Coated Nail package. Press firmly for a few seconds to ensure a secure bond. Because the rehearsal dinner may involve food, drinks, and occasional hand washing, avoid excessive exposure to oil‑based hand creams or harsh detergents. Instead, keep a small bottle of hand sanitizer on hand and apply it gently around the nail edges, not directly on the surface.