
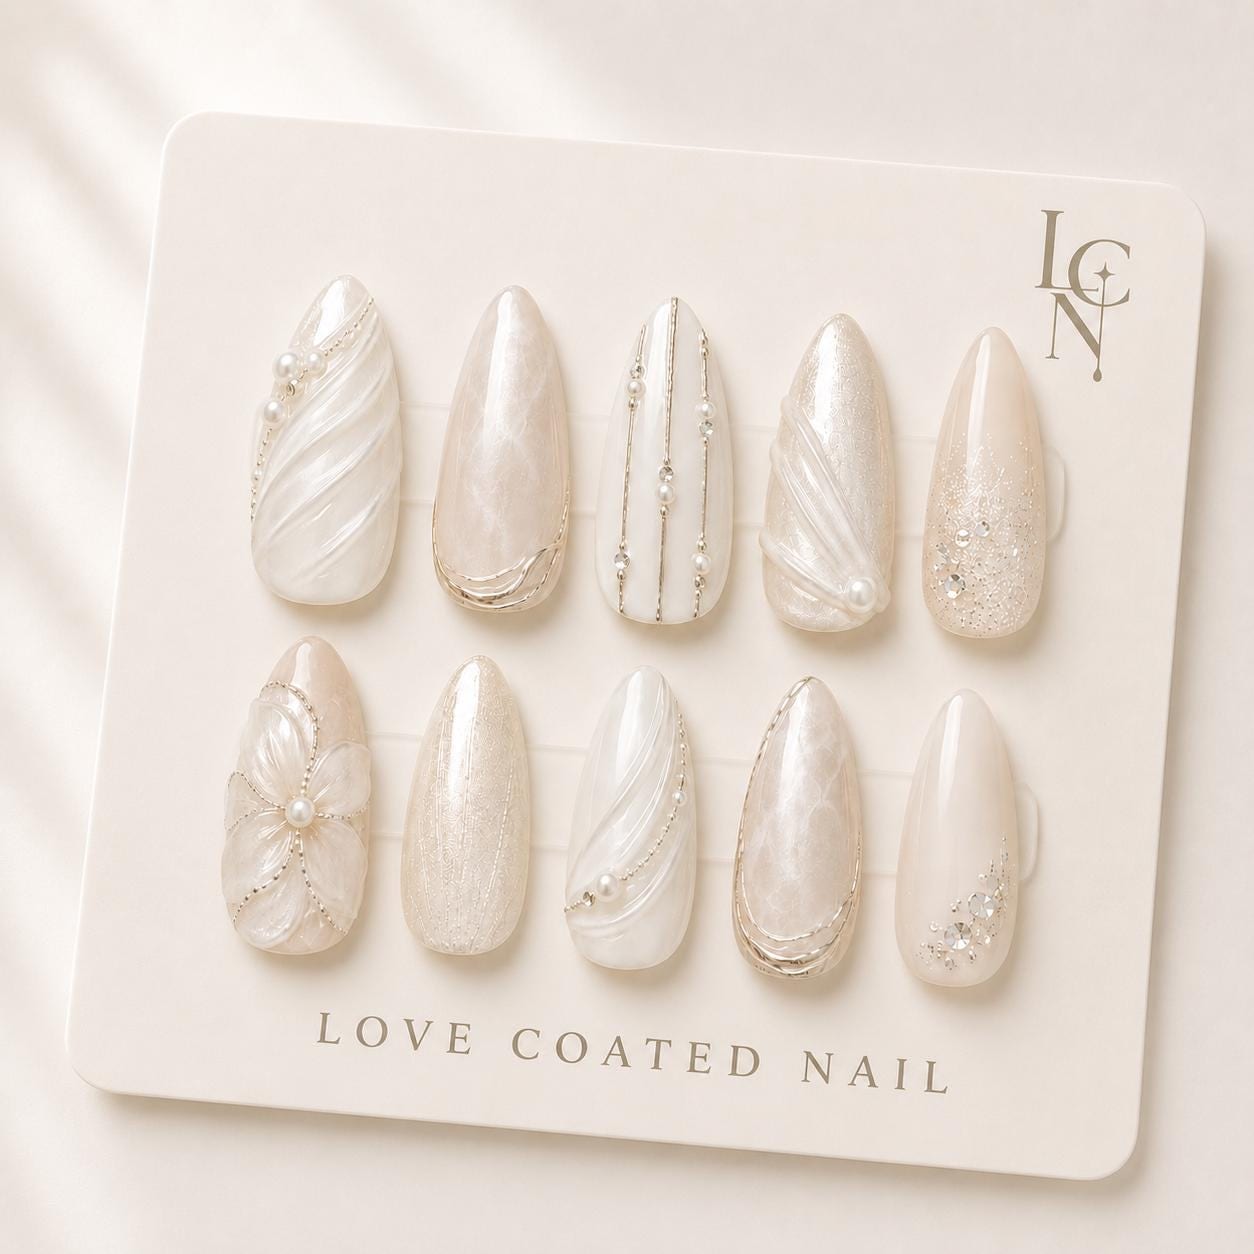
The most reliable way to size luxury press‑on nails for a bride whose nail bed measures 7 mm is to follow a three‑step measurement and fit process that combines precise measuring, reference to the brand’s sizing chart, and a quick comfort test before the ceremony. By using a simple ruler or a printable nail gauge, noting the exact length of each finger, and then matching those numbers to the Love Coated Nail bridal sizing guide, you can achieve a seamless, custom‑fit look without guesswork.
Measure Your Nail Bed Accurately
Begin by cleaning the natural nails and removing any polish or residue. Place a clear ruler or a disposable nail gauge against the tip of the thumbnail, aligning it with the cuticle at the base. Gently press the gauge so it rests flush against the skin, then note the distance from the cuticle to the fingertip. Repeat this for each finger, as nail beds can vary slightly from thumb to pinky. For a bride with a 7 mm nail bed, the measurement will be close to that figure on the middle three fingers, which are the most visible in photographs. Write the numbers down in a small notebook; consistency is key because the press‑on set is designed in a medium almond shape that follows the natural curve of the nail.
Choose the Right Size Category
Love Coated Nail offers three primary size categories for bridal press‑ons: Small (5‑6 mm), Medium (6‑7 mm) and Large (7‑8 mm). When the recorded nail bed length falls at the upper end of a range, it is safest to select the next size up to avoid a tight fit that could cause lifting. For a 7 mm measurement, the Medium category is often a comfortable starting point, but if the bride’s fingers are wider or the nail bed feels slightly longer when measured with a flexible gauge, the Large size may provide a better margin. The goal is a nail that sits just beyond the fingertip without extending too far onto the skin, preserving both aesthetics and wearability.
Use the Love Coated Nail Sizing Chart
The brand’s official sizing chart aligns each size category with the corresponding number of press‑on pieces in the set. For the Medium almond shape, the chart lists ten nails that cover the full hand, with each nail calibrated to a 6‑7 mm nail bed. The chart also notes that custom sizing is available, so if the 7 mm measurement sits exactly on the boundary, you can request a bespoke adjustment through the customer care channel. When you select the Medium set, compare the printed chart to your recorded measurements; the chart will show a visual representation of the nail length relative to a fingertip, helping you confirm that the press‑on will sit just right under a wedding ring and any delicate veil straps.
Adjust for Shape and Comfort
Even with the correct length, the almond shape may need a slight tweak to match the bride’s finger width. Gently file the sides of each press‑on nail using the included nail file, focusing on the outer edges to achieve a snug but not restrictive fit. The medium almond shape is designed to taper gracefully, so a light filing of 1‑2 mm on the sides can accommodate a slightly broader nail bed while preserving the elegant silhouette. After filing, test each nail by pressing it onto a clean fingertip; it should glide onto the nail bed without excessive pressure and stay in place when a light tug is applied. This step ensures that the 3D gel draping and pearl embellishments remain secure throughout the ceremony.