
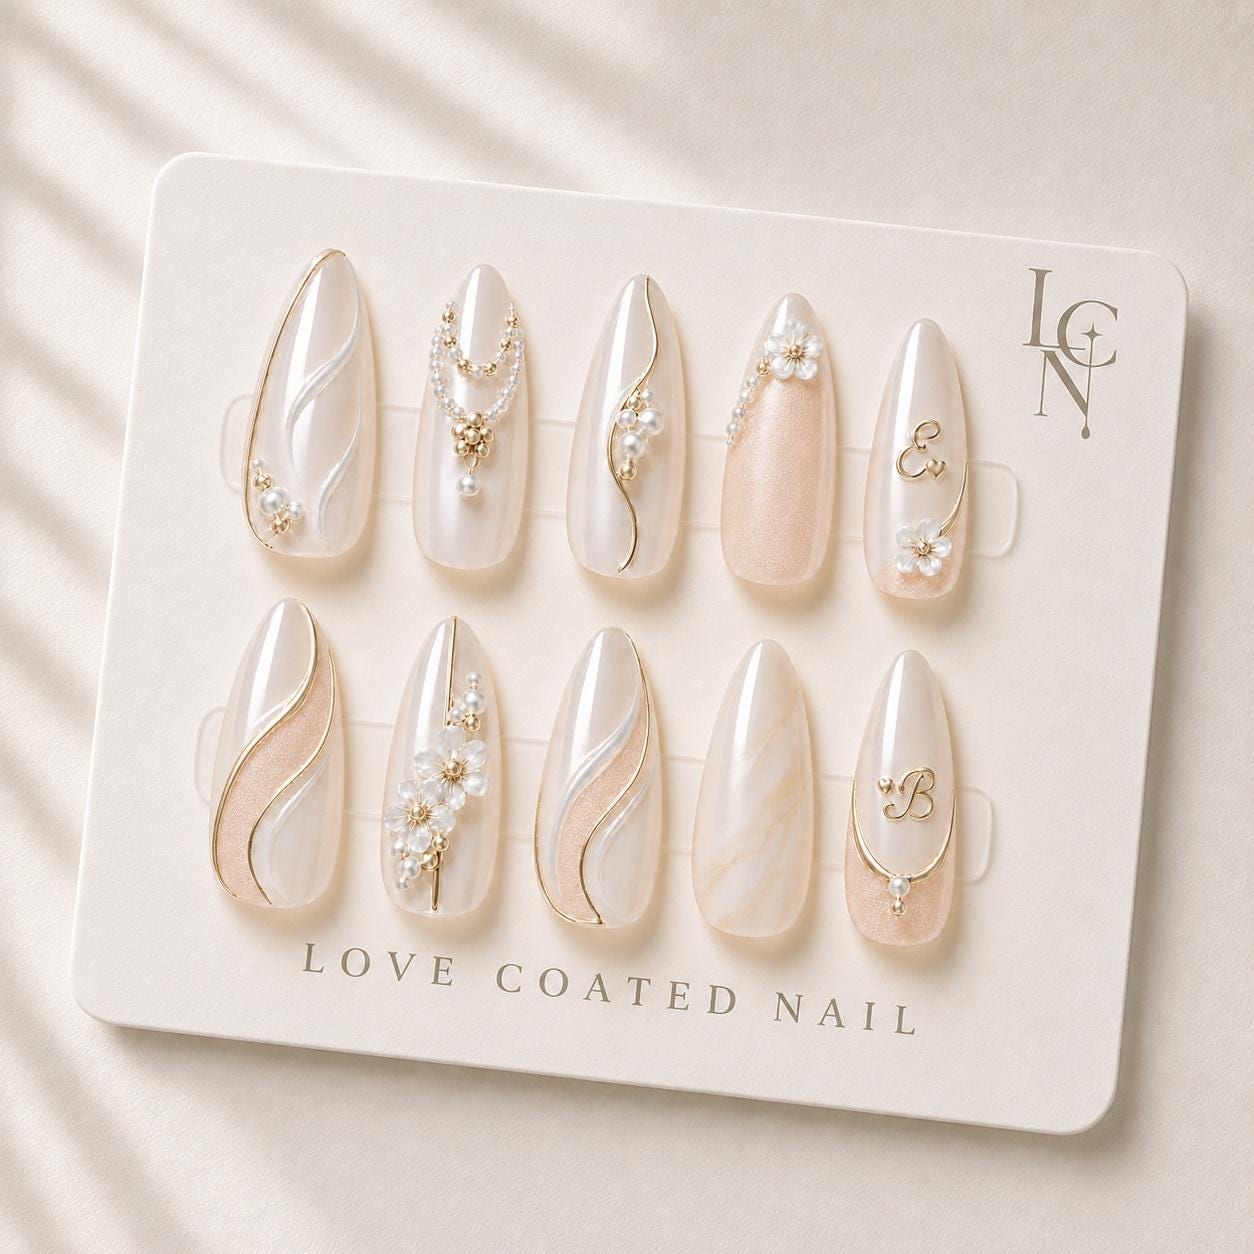
Applying your personalized bridal press‑on nails with adhesive tabs is a straightforward process that can be completed in under ten minutes, giving you a polished look just in time for the ceremony. Begin by cleaning your natural nails, select the correct size, and press each tab‑backed nail onto the prepared surface, holding for a few seconds until it adheres securely.
Prepare Your Natural Nails
Start with clean, dry nails. Use the two alcohol prep pads included in the Love Coated Nail kit to remove any oils or residue. Gently push back cuticles with the cuticle stick, then lightly file the surface of each nail to create a subtle texture. This step improves the bond between the adhesive tab and your nail, reducing the chance of lift during the ceremony.
Choose the Right Size and Layout
Lay out the ten custom‑initial nails on a flat surface and match each piece to your own nail shape. The set is handcrafted, so slight variations in length may occur; select the nail that feels most comfortable for each finger. If a nail feels too long, you can trim it with the provided nail file, being careful not to cut into the decorative details.
Apply the Adhesive Tabs
Each nail comes with a pre‑cut adhesive tab on the back. Peel the protective liner from one tab, align the nail with your natural nail, and press down firmly from the cuticle to the tip. Hold for about five seconds to ensure full contact. Repeat this process for all ten nails, working from the pinky to the thumb to maintain a smooth rhythm.
Secure and Smooth the Finish
After all nails are placed, run a gentle press over each nail with your fingertip to eliminate any air bubbles. If a tab feels loose, re‑press it for a few more seconds. Allow the adhesive to set for a minute before moving your hands. This short waiting period helps the tabs achieve their maximum hold, which is sufficient for a typical ceremony lasting a few hours.
Quick Touch‑Up Before the Ceremony
Just before walking down the aisle, give your nails a final glance. If any edge feels slightly lifted, press it back down with a clean fingertip. A quick swipe with a dry cotton pad can remove any smudges from the gel surface without affecting the adhesive. With the adhesive tabs, you have a reliable hold for 1–2 days, giving you confidence that your personalized initials will stay pristine throughout the ceremony.
Transitioning to Glue for the Reception (Optional)
If you plan to keep the nails on for the reception, you can replace the adhesive tabs with a stronger nail glue. Gently lift each nail at the cuticle, apply a small amount of glue to the tab side, and press back onto the natural nail. This step extends wear time to up to three weeks, as noted in the product description. Remember to work in a well‑ventilated area and avoid contact with skin.