
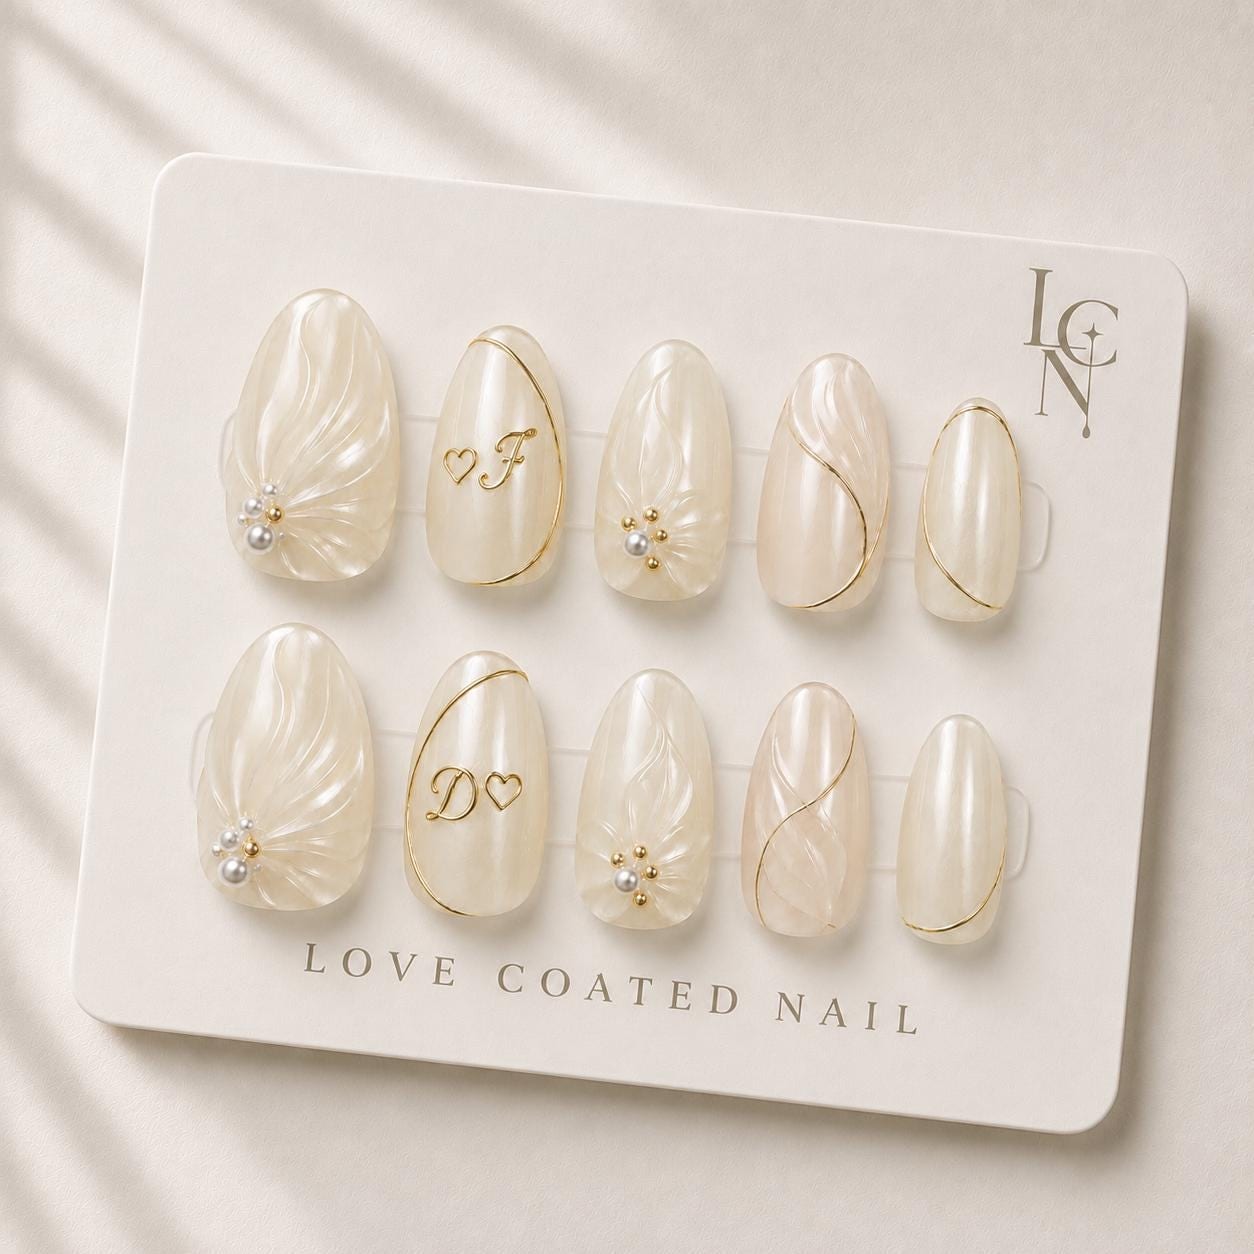
Yes, you can start your ceremony with the adhesive tabs that come with your Love Coated Nail bridal set and later replace them with nail glue for the reception, provided you follow a careful removal and re‑application process. The key is to detach the tabs gently, clean the nail surface, and ensure the press‑ons are still free of residue before bonding them with glue. This approach lets you enjoy the convenience of tabs for the short ceremony and the longer hold of glue for the evening without compromising the integrity of your customized bridal press‑ons.
Prepare Your Nails Before the Ceremony
Begin by cleaning your natural nails with an alcohol wipe to remove oils and any lingering residue. Lightly buff the surface with the included nail file to create a subtle texture; this helps both the tabs and later the glue adhere more securely. Apply a thin layer of cuticle oil and let it absorb, then wipe away any excess. Having a clean, dry nail bed is essential because any leftover moisture can cause the adhesive tab to lift prematurely, which would make the later glue step more difficult.
Apply Adhesive Tabs for the Ceremony
The adhesive tabs included with the bridal press‑on set are designed for a 1–2 day wear time, making them ideal for the ceremony. Position each tab on the back of a press‑on nail, press firmly for a few seconds, and then place the nail onto your natural nail. Hold each nail for about 10 seconds to ensure a solid bond. Because the tabs are pre‑sized, you won’t need extra glue at this stage, and you can focus on getting a flawless look for the ceremony photos.
Gentle Removal After the Ceremony
When the ceremony ends, wait at least 30 minutes before attempting removal; this allows the adhesive to settle and reduces the risk of tearing the press‑on. Use an alcohol wipe to dampen the edge of each nail, then gently lift with a cuticle stick. If resistance is felt, apply a bit more alcohol and let it soak for a few seconds. The goal is to separate the press‑on from the tab without pulling off any of the 3D gel texture or pearl embellishments. Once removed, set the tabs aside—they can be discarded or saved for a future quick‑apply situation.
Clean the Nail Surface Before Gluing
After removal, you will likely notice a thin film of adhesive residue on your natural nail. Use a fresh alcohol wipe or a small amount of nail polish remover to wipe the surface clean. Follow with a dry, lint‑free pad to ensure no moisture remains. This step is crucial because any leftover adhesive can interfere with the glue’s bonding strength, leading to premature lifting during the reception.
Apply Nail Glue for the Reception
Choose a high‑quality, brush‑on nail glue that is compatible with gel‑based press‑ons. Apply a thin, even line of glue to the back of each press‑on nail, avoiding the decorative edges where the gold chrome or pearl details sit. Press the nail onto your natural nail and hold for 15–20 seconds. The glue will set quickly, giving you a secure hold that can last up to 3–4 weeks, according to the product specifications. For extra security, you may lightly press the nail against a flat surface for a few seconds after placement.