
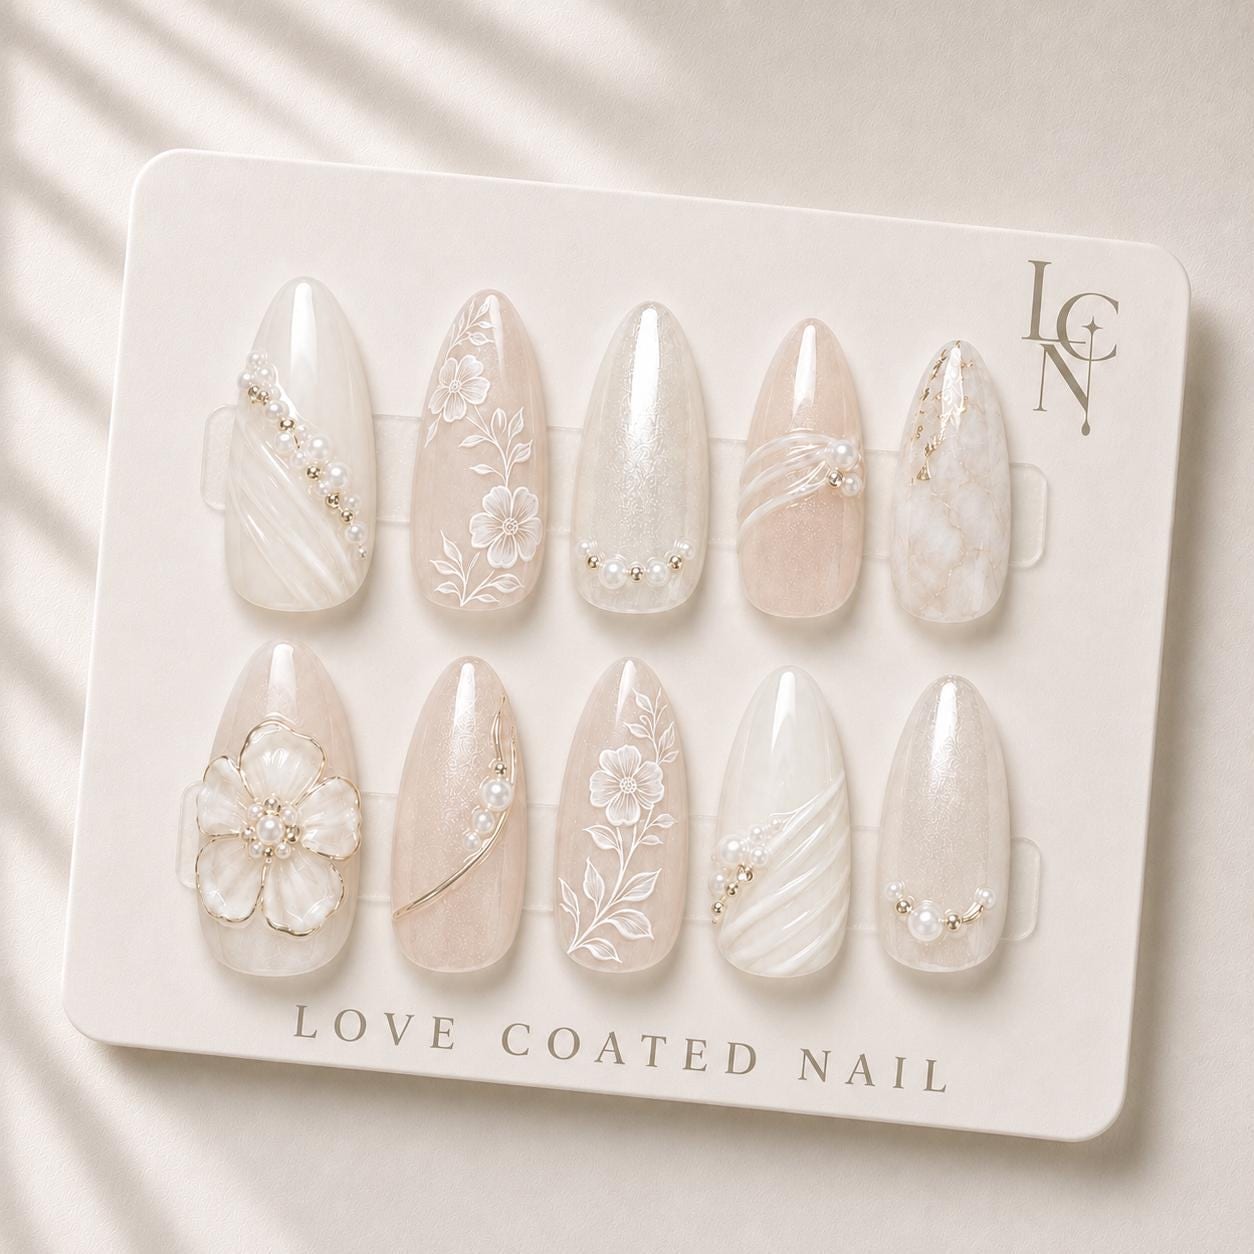
Yes, you can use adhesive tabs for your wedding nails and still switch to a different design for the reception. The adhesive tabs included with Love Coated Nail’s bridal press‑on set are designed for a 1–2 day wear period, which aligns perfectly with a ceremony followed by a reception. By following a careful removal process and re‑applying a new set of tabs, you can enjoy two distinct looks without compromising nail health or the integrity of the luxury nails.
Prepare Your Workspace and Tools
Before you begin, gather the items that came with your bridal set: the alcohol wipes, a cuticle stick, and a nail file. You will also need a fresh batch of adhesive tabs (the set includes 24, enough for a second application) and a clean, flat surface. Wash your hands thoroughly with a gentle soap, then dry them completely. This removes oils that could interfere with the adhesive and ensures a clean surface for the new tabs.
Gentle Removal of the First Set of Tabs
Start by soaking a cotton pad with an alcohol wipe and placing it over each nail for about 30 seconds. The alcohol helps dissolve the adhesive bond without pulling on the press‑on nail. After the soak, use the cuticle stick to lift the edge of the press‑on nail gently. Work slowly, sliding the stick under the nail while supporting the natural nail with your other hand. If you feel resistance, apply another brief alcohol soak. Avoid pulling or prying aggressively, as this can damage the natural nail plate or the delicate 3D floral details on the bridal set.
Once the nail releases, set it aside on a clean surface. Repeat the process for all ten nails. After removal, wipe each natural nail with a fresh alcohol wipe to eliminate any residual adhesive. If any sticky residue remains, a light dab of the wipe will clear it without over‑drying the nail surface.
Caring for Your Natural Nails Between Looks
After the ceremony, give your natural nails a short break before re‑applying a new design. Apply a thin layer of cuticle oil or a nourishing nail serum to restore moisture lost during the removal process. Let the oil absorb for a few minutes, then gently file the surface of each nail with the included file to remove any microscopic adhesive film. This step creates a smooth canvas for the next set of adhesive tabs and helps prevent lifting later in the evening.
Applying a New Design for the Reception
Select the second set of press‑on nails you wish to wear for the reception. If you are using the same Love Coated Nail bridal set with a different arrangement (for example, swapping a few floral nails for a solid ivory style), ensure each nail is the correct size for your finger. The set includes custom sizing options, so trim any oversized nails with the file if needed.
Place an adhesive tab on the natural nail, pressing firmly for a few seconds to activate the bond. Then align the press‑on nail with the cuticle and press down from the cuticle to the tip, holding for about 10 seconds. The tab’s thin profile allows a quick, secure fit that will last through dancing and dining. Repeat for each nail, checking that the edges sit flush and the 3D pearl embellishments are not catching on the surrounding skin.